
|
  
|
||||||||||||||||||||||||||||
|
||||||||||||||||||||||||||||
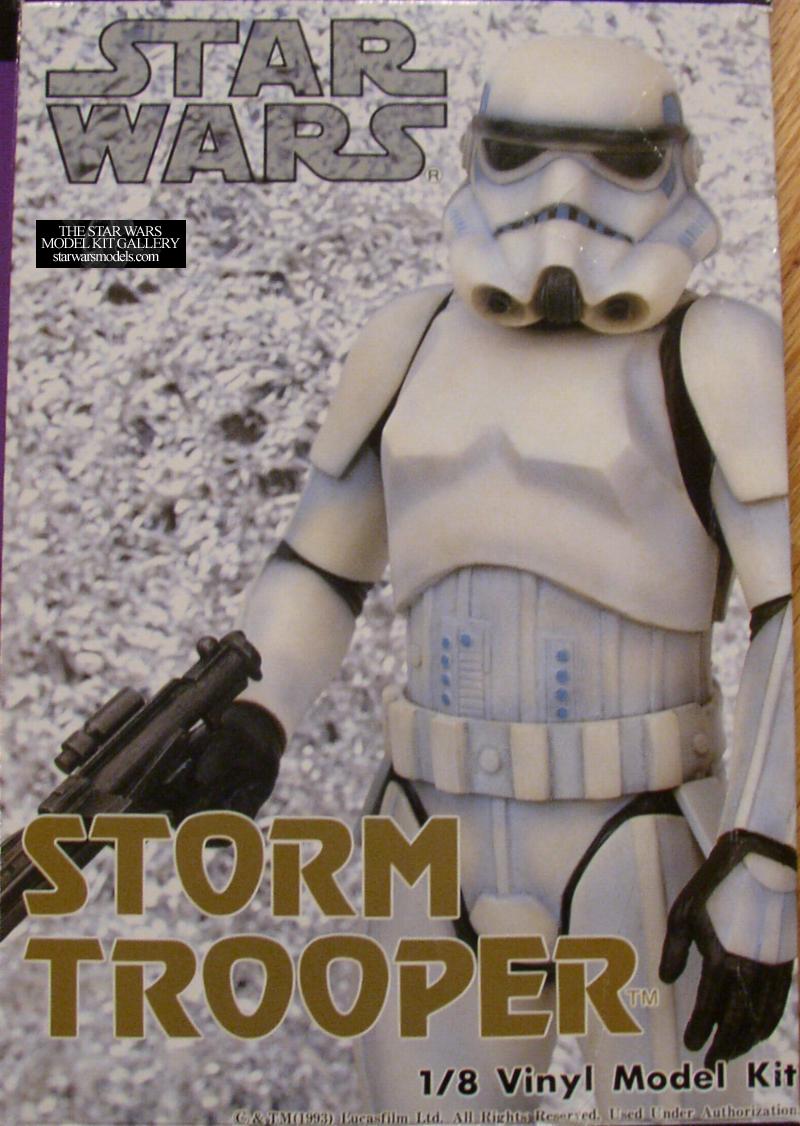
| This, like most of the Argo Nauts kits, is one of the rarest of all Star Wars kits. I have only ever seen this kit once and I had to pay $100 for it!! It was well worth it because it is one of the coolest! It is actually listed as a Stormtrooper but it comes with parts to build it as a Sandtrooper. Since I already had a few Stormtroopers I decided to use the extra parts and make it a dirty Tatooine Sandtrooper. It came with the special Backpack, side pouches and shoulder pad thingy. The backpack was several different pieces that had to be carefully arranged, make sure you work carefully because I almost messed it up. The parts don't match exactly the reference pics I had so just watch out if you decide to build s Sandtrooper. You may also want to consider scratchbuilding one of those cool heavy assault rifles some of the Sandtroopers carried in A New Hope. I don't imagine it would be too hard considering it was basically just a big long tube. Anyway, this kit was really great to build. The parts were made of a very high quality vinyl and trimmed easily once warmed. The parts fit together very well and needed little heating to fit properly. As with any Stormtrooper kit, you should make subassemblies, paint them and then put them together. It's really hard to spray the whole thing white and then try to hand paint the black in the crevices between the plates. I also suggest painting the shoulder pad and head separately and then attaching them to the shoulders. The pad was the only thing that gave me a fit problem. There was a little lip inside around where the neck would go through that interfered with the attachment of the helmet. Just get rid of it but make sure you test fit because if you remove too much there will be a gap in the rear. After assembly was done I went on to finishing up the paint and weathering. For weathering I started by airbrushing a little sand color around his feet, legs, chest and other major wear areas. He looked like a toasted marshmallow! Mmmm, marshmallow - ahem, scuse me. After that I went on to dry brushing with browns, grays and a little black for more wear and tear. I looked at reference pictures and tried to picture in my mind where I would see the most wear. Obvious choices like knees, hands, feet and underneath the shoulder pad where it would rub. I also used a spatter technique with a old toothbrush to make some more weathering. I went a little overboard on the backpack. To do this, just get an old toothbrush, put some paint on it and run your finger over the bristles to flick paint everywhere. Do some practice shots to get the technique right. All in all it was a great kit. High quality and pretty darn accurate. If you can find it, tell me cause I want another. If not, then buy it for yourself you selfish person you. Seriously though, great kit. |
||||||||||||||||||||||||||||
| Other Variations: |
||||||||||||||||||||||||||||
| None |
||||||||||||||||||||||||||||
|
Copyright © 2001-2016 starwarsmodels.com.
No portion of this site is to be reproduced in any way, shape or form without
my permission beforehand. |
||||||||||||||||||||||||||||


